Dream Board Assembly: Create Your Vision
It’s time to bring all your dream images together! In this activity, you’ll assemble your own Dream Board, a powerful, visual collection of the goals you want to achieve. You can choose to build your board the old-fashioned way with paper and scissors, or go digital and arrange your images on your computer. Use the method you prefer, or experiment with both.
Why Create a Dream Board?
When your goals are visible every day, they stay active in your thinking and nudge you toward small daily actions that move you forward. Plus, making your board is creative and fun!
Physical Dream Board
Digital Dream Board
Physical Dream Board Assembly
-
Gather Your Materials:
- A board or large sheet of paper (poster board, corkboard, etc.)
- Your printed dream images (from the previous activity)
- Scissors, tape or glue, markers, and any extra magazine cutouts or decorations you want
-
Arrange Your Images:
- Lay out your images on the board without gluing them yet. Try different placements, overlaps, and groupings until you’re satisfied.
- Add in words, quotes, or hand-drawn elements for extra meaning.
-
Assemble and Decorate:
- Glue or tape down your images. Fill empty spaces with inspiring words, stickers, or symbols that matter to you.
- Personalize your board: dates, locations, or names can make your goals feel more real.
-
Display Your Dream Board:
- Hang your board somewhere you’ll see it every day: your desk, in your bedroom, or on the fridge.
- Take a photo of your finished board to keep a digital backup.
Tip: Making your board by hand is a great activity to do with friends or family.
Digital Dream Board Assembly
-
Prepare Your Canvas:
- Open a new blank slide, image, or drawing in any software you have (such as a presentation app, drawing program, or document editor).
- Set the size to landscape or portrait, depending on your preference.
-
Add Your Dream Images:
- Copy and paste your dream images onto your canvas. Move, resize, and rotate them as you like.
- Arrange your images to create a scene that inspires you.
-
Decorate Digitally:
- Add digital “pins,” borders, or text if your software allows. Use colors, shapes, and lines to connect ideas or highlight what matters most.
- Add extra images, words, or small graphics if you wish.
-
Save and Set as a Reminder:
- Save your completed dream board as an image file.
- Set it as your computer or phone wallpaper, or print it out and display it somewhere visible.
Tip: The software you use isn’t important. What matters is seeing your dreams every day, in a way that motivates you!
Real Example: From Dream to Reality
Here’s how I created a dream image for achieving Italian citizenship, and what happened five years later.
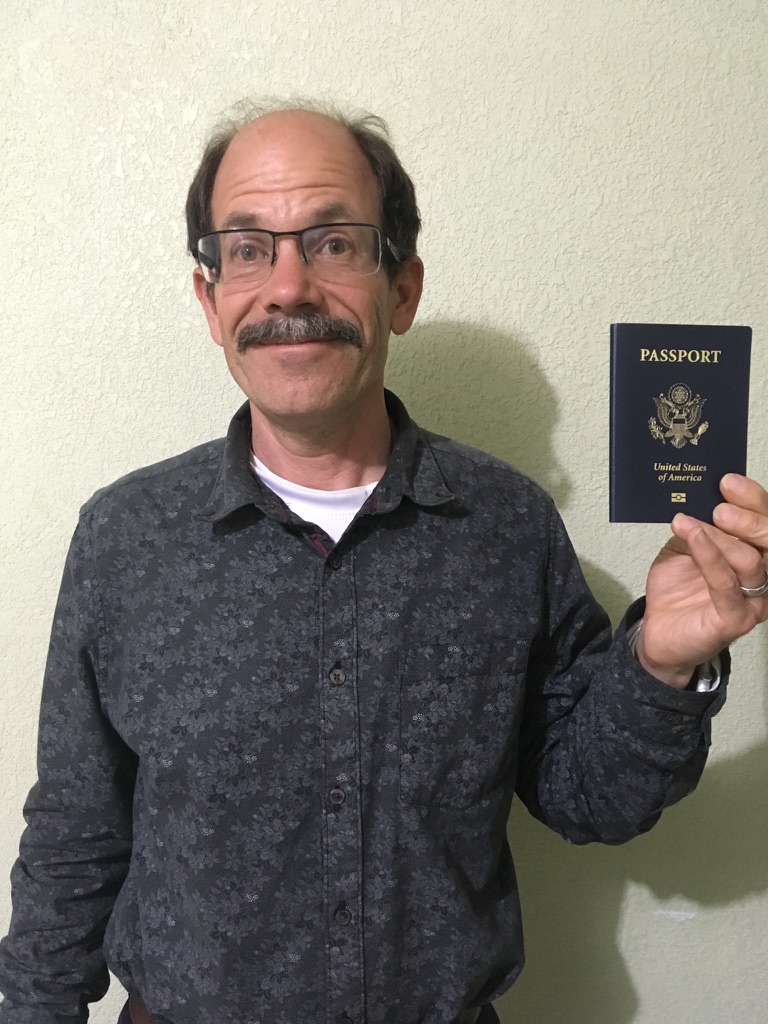
Step 1: Start with a real photo holding a similar object (here, my US passport).
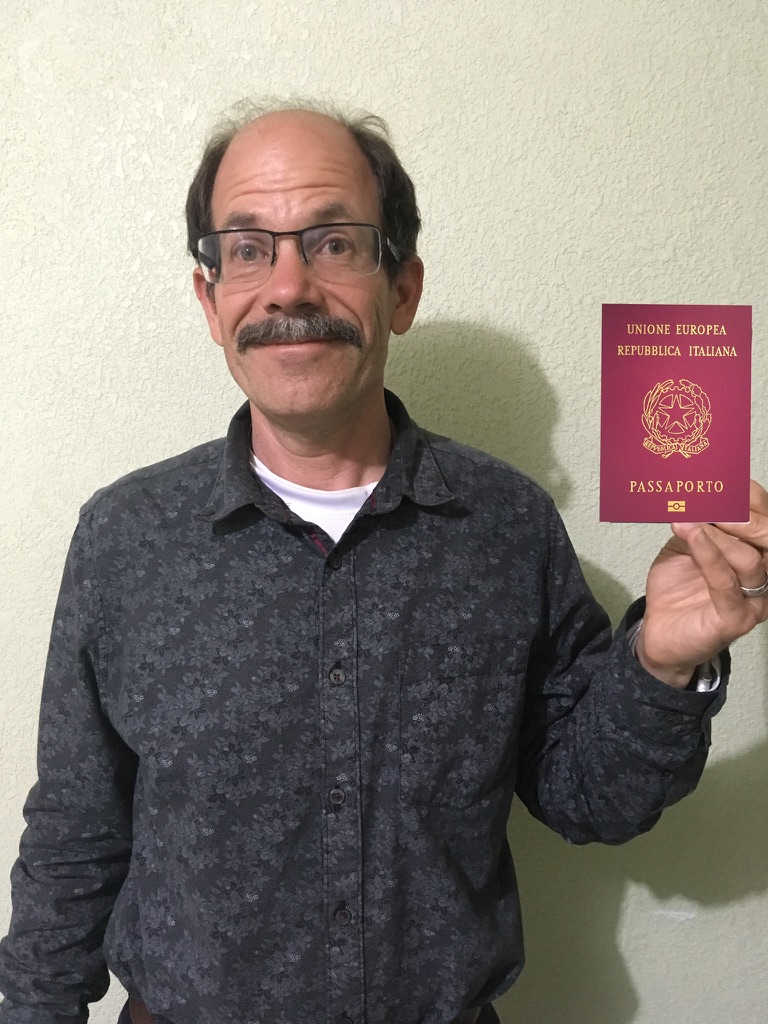
Step 2: Overlay a stock image of the goal object (Italian passport) sized to fit.
Step 3: Layer a photo of your fingers on top to create a realistic holding effect.
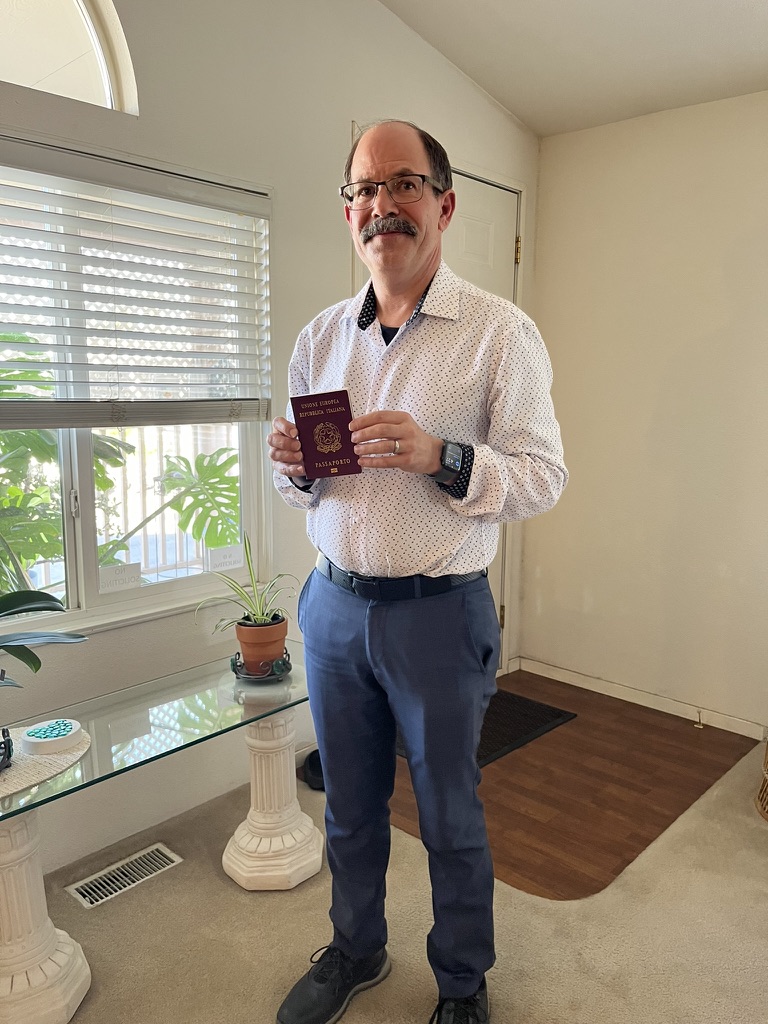
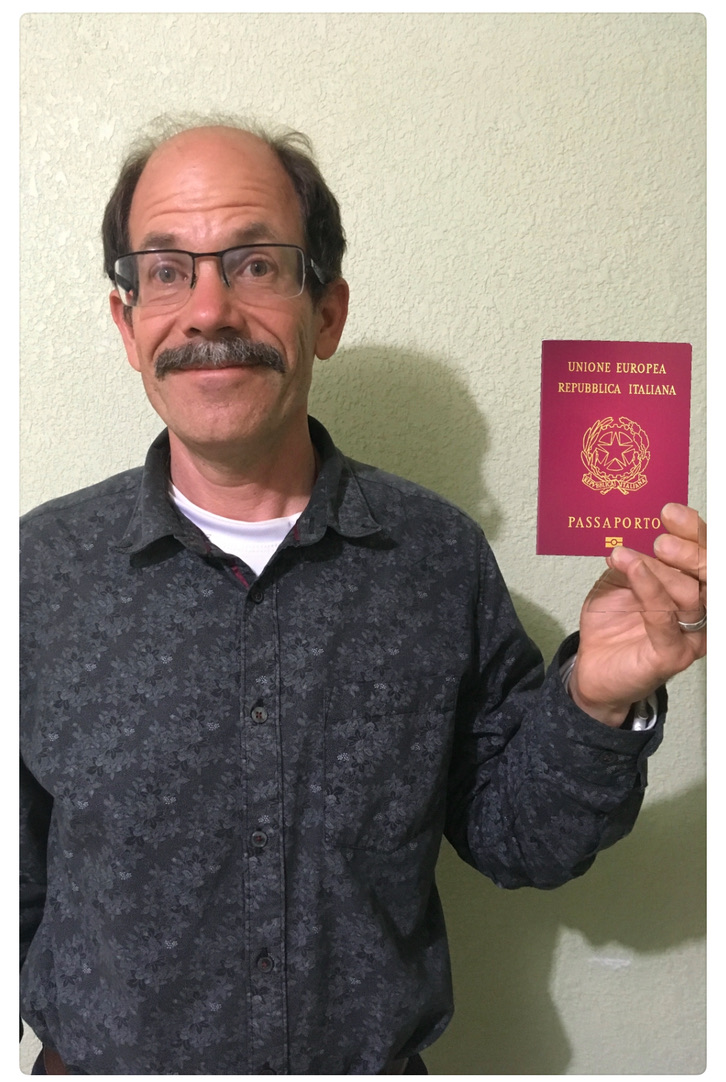
Step 4: Five years later, the dream became reality.
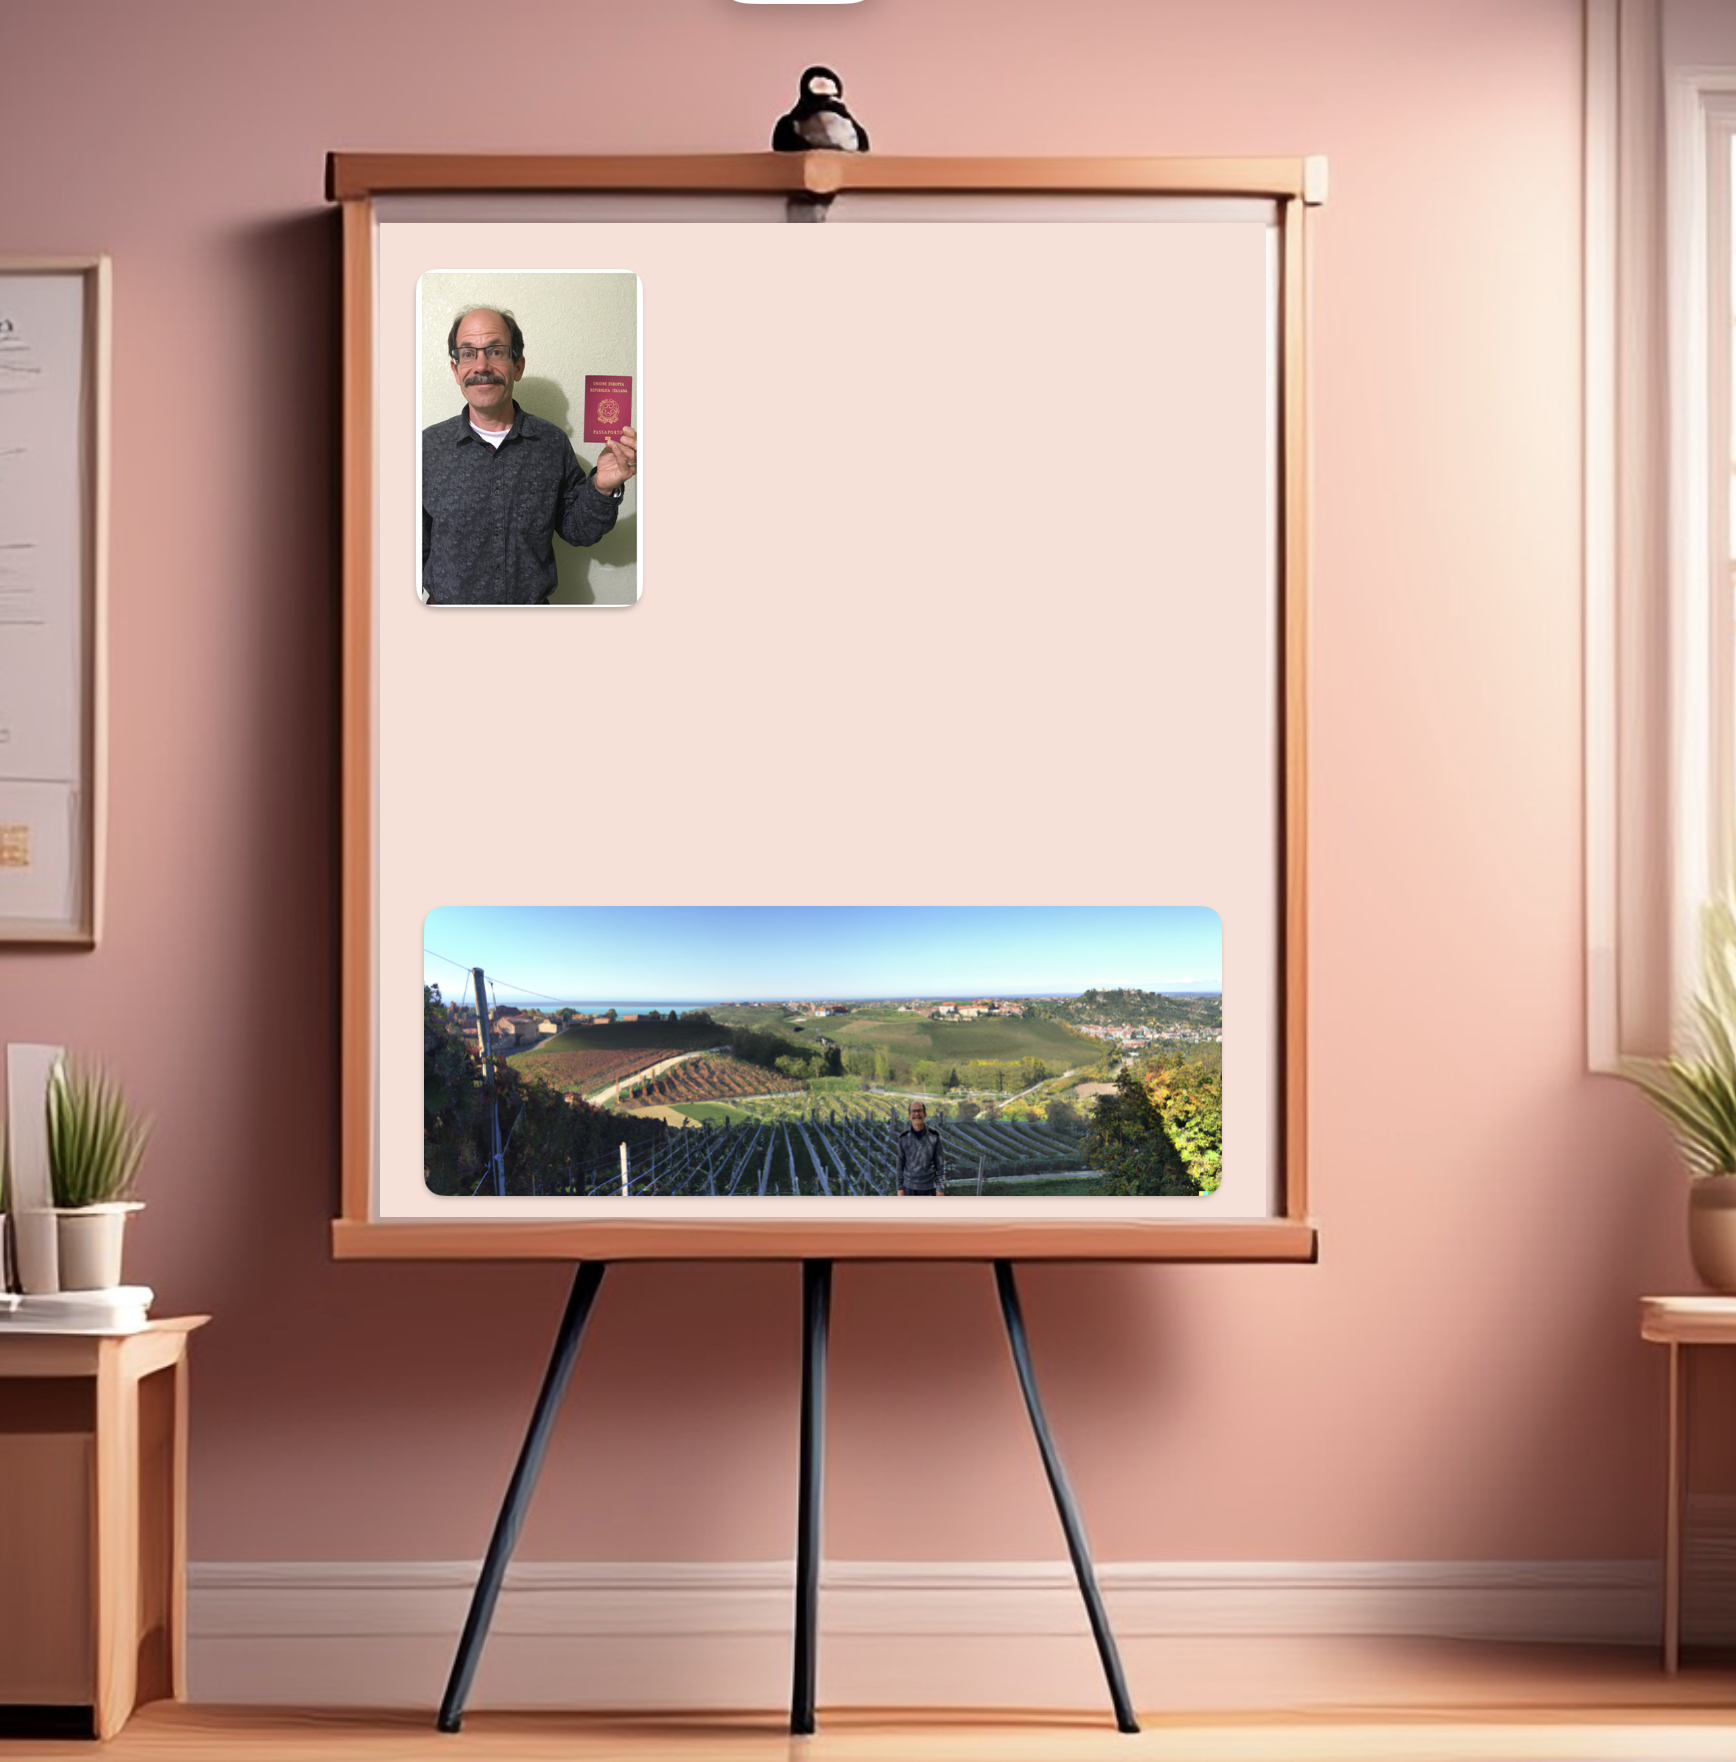
Instructor Example: My Digital Dream Board
Here’s a digital dream board I created by arranging my images on a virtual canvas. Yours can look completely different, make it your own!
Reflection
Take a moment to look at your finished Dream Board. What feelings or ideas does it bring up? Did you discover anything new about your goals during this process? Jot down a note for yourself.
Keep your Dream Board visible: this is just the beginning of your journey!